
I’ve recently begun doing more work on ‘upstream’ or ‘standard’ Kubernetes as opposed to OpenShift. I’ve long had ways involving Ansible, bash, and probably dark magic to get OpenShift up and running for research purposes. But I didn’t have a lot of experience deploying ‘just’ Kubernetes. This post walks through what I needed to figure out to get a repeatable process up and running for my lab.
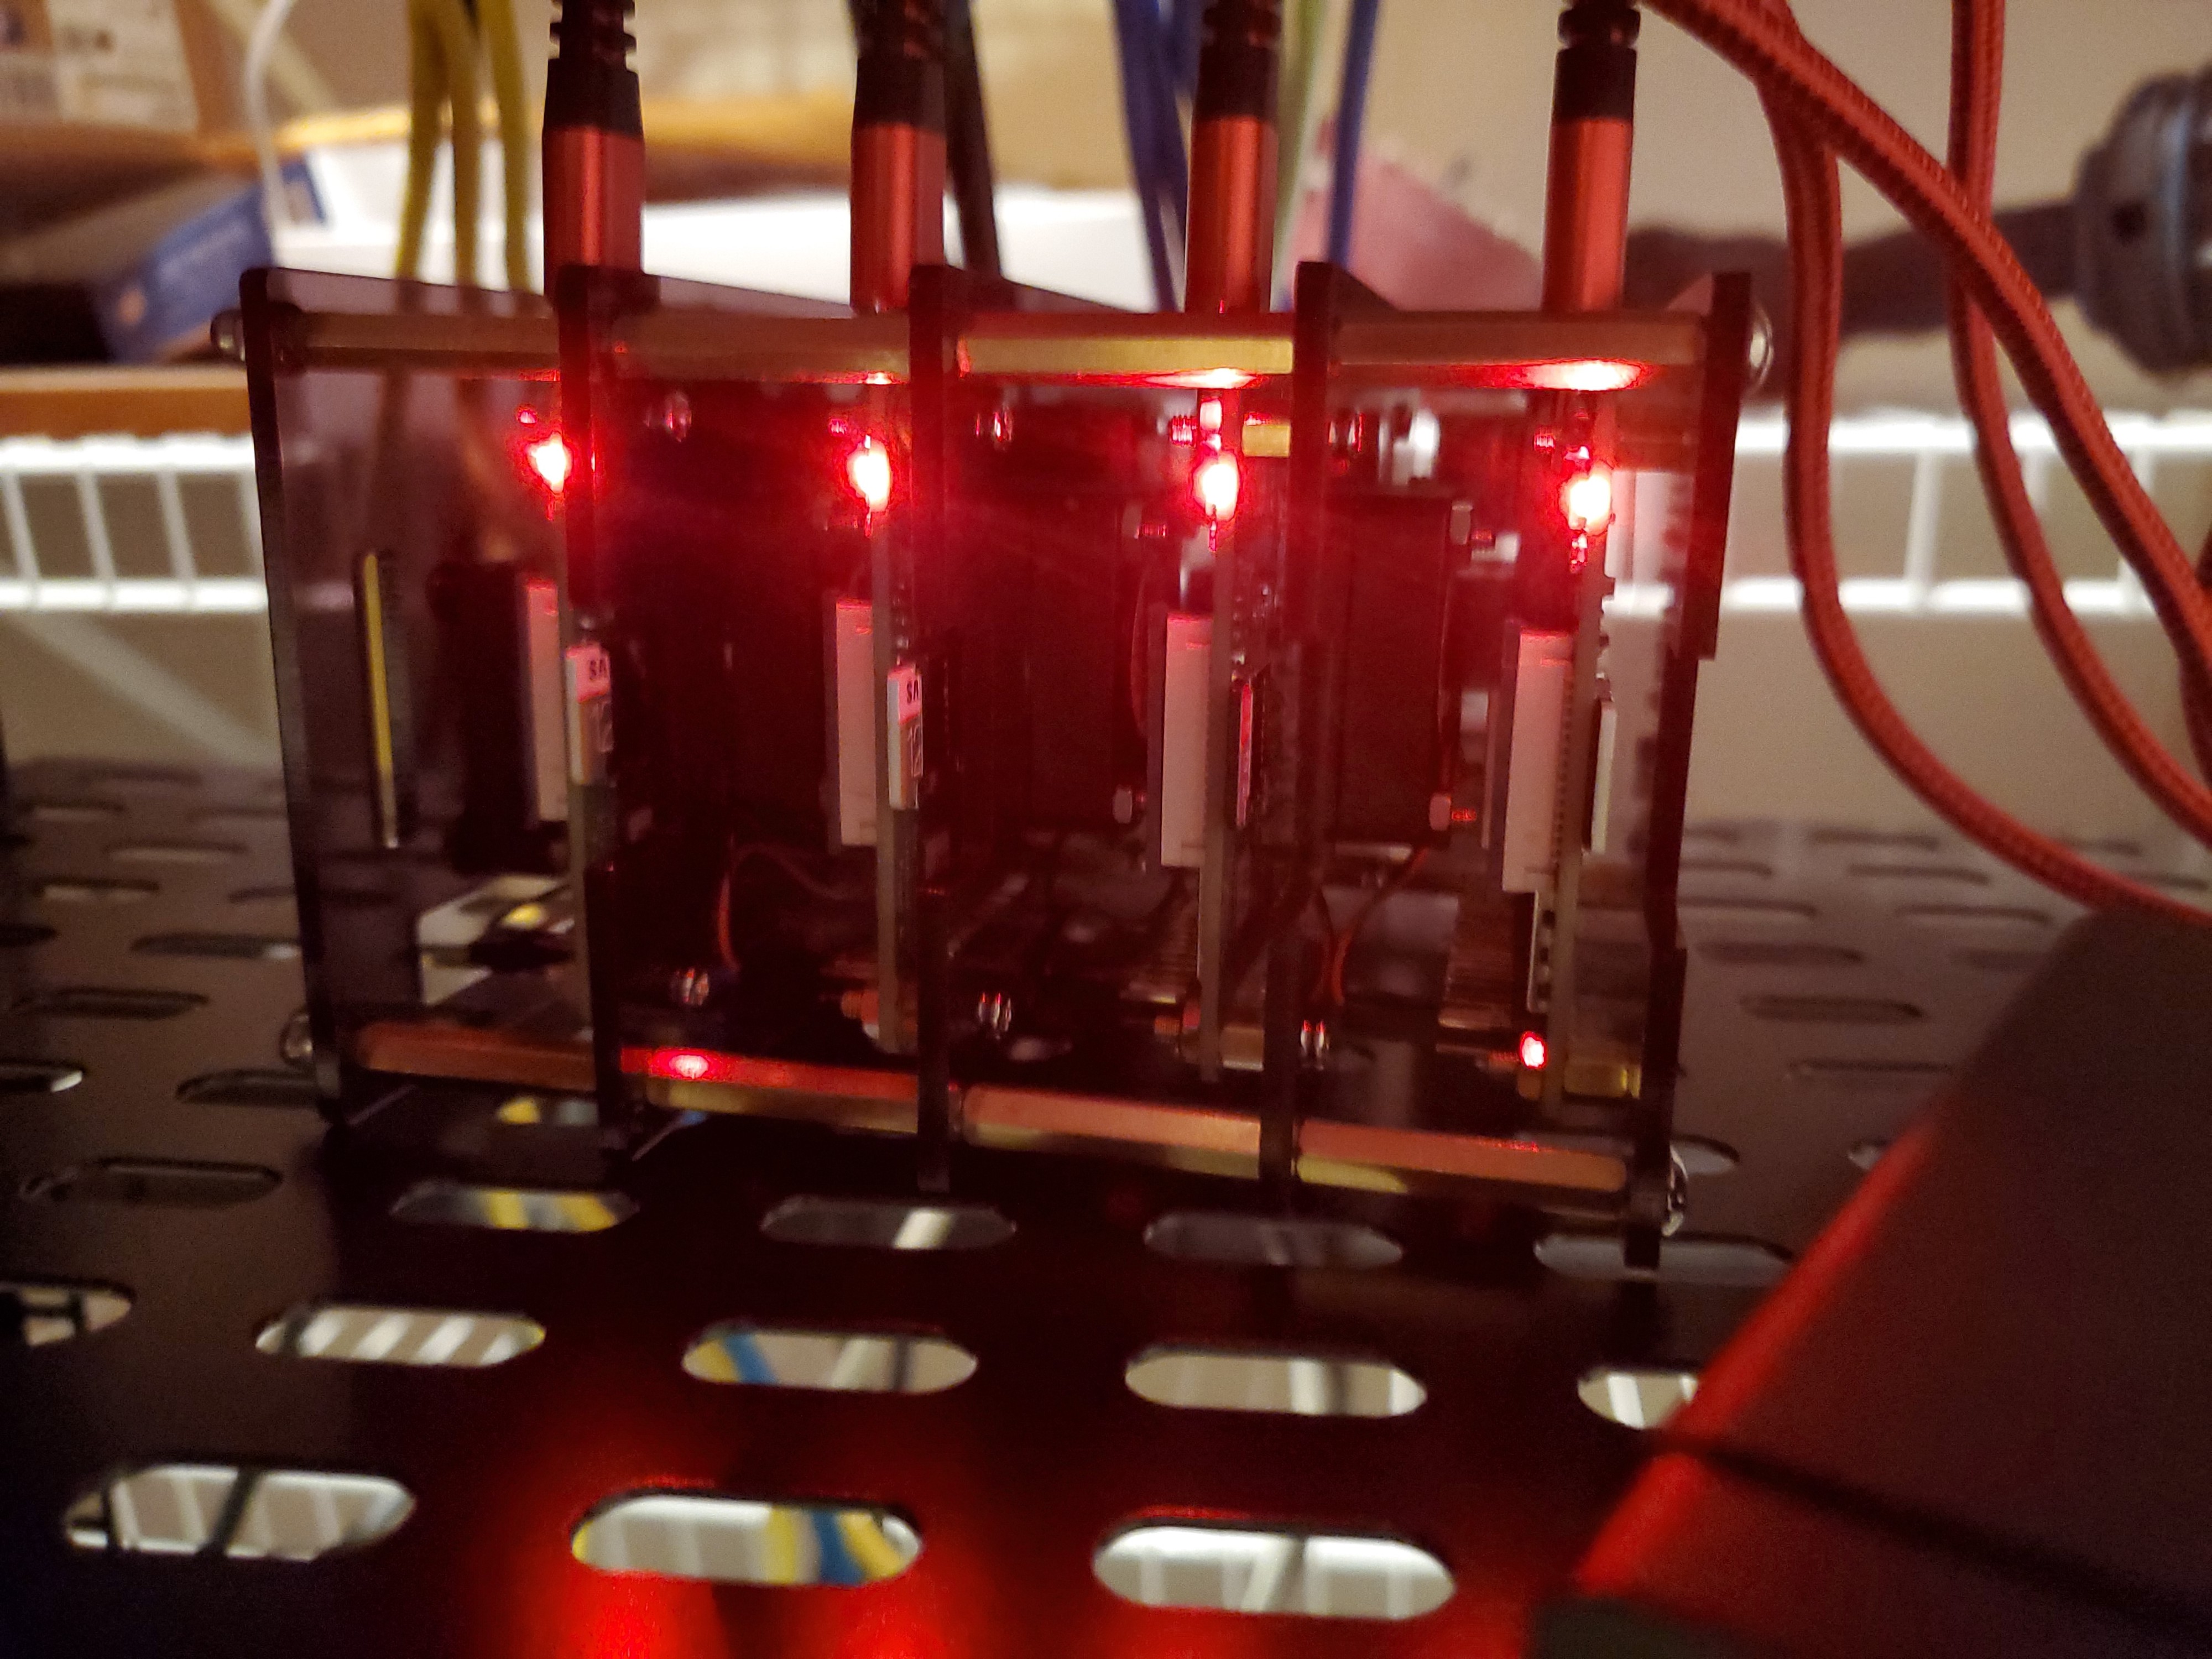
To help me get up to speed on the various processes I picked up a handful of Raspberry Pi 4’s (the 4GB models) and the accessories needed to run them. The total cost was just under $400 for all 4 nodes and everything except the switch (my home lab uses Ubiquiti gear, and I had some open switch ports).

4 Raspberry Pis in their shared case running happily on a shelf in my home lab
Since I currently use a Mac, I used Balena Etcher to put Ubuntu 19.10 for ARM on the 128GB Micro SD cards. The entire process to get them booted up took about 30 minutes. I’ll include a full hardware BOM at the bottom of this post.
One thing I did learn was that if you have the SD card mounted on your laptop, you see the first partition, which is used for the installation. You can edit the user-data file on that partition like a normal cloud-init server. This lets you set passwords, add SSH keys and users and all sorts of other stuff on first boot if you like. Once booted, I could see all 4 nodes in my networking equipment, so I knew I was ready to start configuring them.
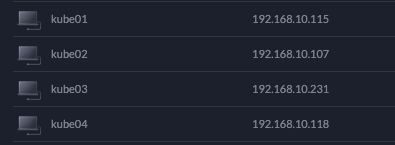
All 4 Raspberry Pi nodes came up cleanly on the first try
My initial inclination for an OS on my Raspberry Pi’s was Raspbian. It’s the default for RPi’s everywhere. It may well work on this, but I ended up using Ubuntu 19.10 in the end. The feel is similar, but with me coming from a very RHEL & CentOS-centric experience, Ubuntu was a little easier to digest than Raspbian.
To deploy my lab I decided to write a few small Ansible roles. Everything is tracked in this Github repository. I’ve tried to add comments in the Ansible to the links I used to figure out the various steps along the way. The workflow I started with was the single-node workflow using kubeadm. While I’d be adding nodes, that’s an easy enough process and I wanted to get a single node working first since I’m not a kubeadm wizard.
The first Ansible role I created was a common role to update the server and perform any common configuration tasks. It was pretty straight-forward, with 2 of the tasks coming from some documentation I found online that seems to be working well.
- name: Confirm an up-to-date apt cache is on the system
  apt:
    update_cache: yes
    cache_valid_time: 3600

- name: update core packages
  apt:
    name: '*'
    state: latest
  notify: reboot server

# per docs at [https://kubernetes.io/docs/setup/production-environment/tools/kubeadm/install-kubeadm/#ensure-iptables-tooling-does-not-use-the-nftables-backend](https://kubernetes.io/docs/setup/production-environment/tools/kubeadm/install-kubeadm/#ensure-iptables-tooling-does-not-use-the-nftables-backend)
- name: ensure iptables is using legacy mode binaries
  alternatives:
    name: '{{ item }}'
    path: /usr/sbin/{{ item }}-legacy
  with_items: '{{ iptables_legacy_bins }}'

# [https://wiki.ubuntu.com/ARM/RaspberryPi#Raspberry_Pi_packages](https://wiki.ubuntu.com/ARM/RaspberryPi#Raspberry_Pi_packages)
- name: add memory cgroup config to boot params
  replace:
    path: /boot/firmware/nobtcmd.txt
    regexp: '(fixrtc)$'
    replace: '\1 cgroup_enable=cpuset cgroup_memory=1 cgroup_enable=memory'
  notify: reboot server
The most interesting thing I found was that the kernel for both Raspbian Buster as well as Ubuntu 19.10 didn’t enable memory cgroups in a way that a container runtime wanted. The last task is to fix that issue, and a reboot is required for it to take effect.
I also created small roles for common docker and kubernetes configuration tasks. They’re almost identical, so I won’t post both. They’re just manipulating apt on all the servers to add the proper repositories to deploy docker and kubernetes.
- name: install Docker apt key
  apt_key:
    url: [https://download.docker.com/linux/ubuntu/gpg](https://download.docker.com/linux/ubuntu/gpg)

- name: install Docker repository
  apt_repository:
    repo: deb [https://download.docker.com/linux/ubuntu](https://download.docker.com/linux/ubuntu) disco stable
    state: present

- name: install Docker
  apt:
    name: '{{ docker_pkgs }}'
    state: present
    update_cache: yes
    install_recommends: no

- name: start Docker service
  service:
    name: docker
    state: started
    enabled: yes
For the docker repositories, I did have to do a little experimentation before it worked properly. It turns out there aren’t docker-ce packages for Ubuntu 19.10 yet, so you have to use the repositories for 19.04. They seem to work well enough, though. With docker and kubernetes installed, it’s time to deploy Kubernetes and add all of the nodes to the cluster.
Deploying Kubernetes with kubeadm can be incredibly simple. For now, I’m keeping it that way, with the hope of adding additional features as I need them. I started using a Github repository for inspiration but ended up deviating pretty heavily from their goals. Because this is a lab environment that I plan to re-create quite often, I want this code to deploy a clean lab whenever I run it. For that reason, I’m currently OK with it using some ‘big hammer’ logic to get its work done. That may become softer with time as my desires change. I’m not sure.
- name: Reset Kubernetes component
  shell: "kubeadm reset --force"
  register: reset_cluster

- name: Init Kubernetes cluster
  when: reset_cluster is succeeded
  shell: |
    kubeadm init --service-cidr {{ service_cidr }} \
                 --pod-network-cidr {{ pod_network_cidr }} \
                 --token {{ token }} \
  register: init_cluster

- name: Make sure no old kube configs exist
  file:
    path: "{{ lookup('env','HOME') }}/.kube"
    state: absent

- name: Tell kubernetes to look to the right auth key
  lineinfile:
    path: /root/.profile
    line: export KUBECONFIG=/etc/kubernetes/admin.conf
    create: yes

- name: Deploy Calico SDN
  shell: |
    kubectl apply -f [https://docs.projectcalico.org/v{{](https://docs.projectcalico.org/v{{) calico_version }}/manifests/calico.yaml
  when: init_cluster is succeeded

# [https://twitter.com/alexbrand/status/1178768251024760833?s=20](https://twitter.com/alexbrand/status/1178768251024760833?s=20)
- name: workaround for Calico image sysconfig weirdness
  shell: |
    kubectl -n kube-system set env daemonset/calico-node FELIX_IGNORELOOSERPF=true
  when: init_cluster is succeeded
As I said, every time I run this Ansible role, it resets the Kubernetes cluster and creates a new clean one in its place. The weirdest issue was the Calico configuration tweak that’s handled by the last task. With it in place, my CNI configuration came up. Next, I added my additional nodes to my Kubernetes cluster. This only takes 2 tasks using kubeadm.
- name: Reset Kubernetes component
  shell: "kubeadm reset --force"
  register: reset_cluster

- name: Join to Kubernetes cluster
  when: reset_cluster is succeeded
  shell: |
    kubeadm join --token {{ token }} \
                --discovery-token-unsafe-skip-ca-verification \
                {{ master_ip }}:6443
  register: join_cluster
The playbook to tie this all together looks like this:
---
- hosts: lab
  become: yes
  roles:
  - common
  - docker
  - kube

- hosts: control
  become: yes
  roles:
  - kube-deploy

environment:
    KUBECONFIG: /etc/kubernetes/admin.conf

- hosts: nodes
  become: yes
  roles:
  - node-join
And the inventory is pretty simple, too.
[lab]
kube[01:04].int.jduncan.io ansible_user=ubuntu

[control]
kube01.int.jduncan.io ansible_user=ubuntu

[nodes]
kube[02:04].int.jduncan.io ansible_user=ubuntu
As I use my lab, and this code to get work done, I’ll keep updating it to be more useful and easy to deploy. I hope it helps!